how to build a teen vanity setup with lighted mirror organizer and mini fridge
If you have a teen who's suddenly concerned about their morning routine, or you're looking to create a dedicated beauty space that actually works, you're not alone. Over the past few years, I've helped my own kids and friends' teenagers set up functional, organized vanities that don't take over the entire bedroom. The secret isn't buying every cute organizer on TikTok—it's understanding what pieces actually work together and fit in a real space.
A well-designed teen vanity does more than look good. It streamlines morning routines (which means less bathroom hogging), gives teens a sense of ownership over their self-care, and honestly, keeps makeup and skincare products from migrating all over the house. In this guide, I'm walking you through every piece you need, how to measure your space, which products are worth the money, and which ones to skip. Let's build something that actually functions.
Table of Contents
- Step 1: Measure Your Space and Choose Your Vanity Desk
- Step 2: Select a Lighted Mirror That Actually Illuminates Well
- Step 3: Organize with Acrylic Organizers and Drawer Solutions
- Step 4: Add a Beauty Mini Fridge for Skincare and More
- Step 5: Create a Functional Layout That Works for Morning Routines
- Step 6: Implement a Maintenance System So It Stays Organized
Step 1: Measure Your Space and Choose Your Vanity Desk
Before you buy anything, measure twice. I can't stress this enough. I once set up a vanity for a friend's daughter with a beautiful 48-inch desk only to realize it barely fit in the room and blocked the closet door. Your vanity desk is the foundation of everything else, so get the dimensions right first. Measure the wall where you want to place it, leaving at least 12 inches on either side for movement and airflow. If the bedroom is tight, a 30-36 inch desk is actually more practical than the Instagram-worthy 48-inchers.
Consider depth too. Most standard desks run 18-24 inches deep. A shallower desk (18 inches) takes up less floor space and still fits a mirror and organizers, but a 24-inch depth gives you more elbow room for actually doing makeup. If you're in a bedroom where space is genuinely limited, a wall-mounted floating desk (30-36 inches wide, 15-18 inches deep) works surprisingly well and keeps the floor open for studying or sitting. The trade-off is less surface area, but for a teen who's primarily using it for makeup application and skincare, it's often enough.
Material matters less than stability. A solid wood desk ($150-300) will last through high school and beyond, but a good particle board or laminate desk ($80-150) works fine if your budget is tight. What matters is that it doesn't wobble when you set a heavy mirror on it or lean on it during your morning routine. Check reviews specifically for "sturdy," "stable," and "doesn't wobble"—these are the real-world details that tell you if something will work.
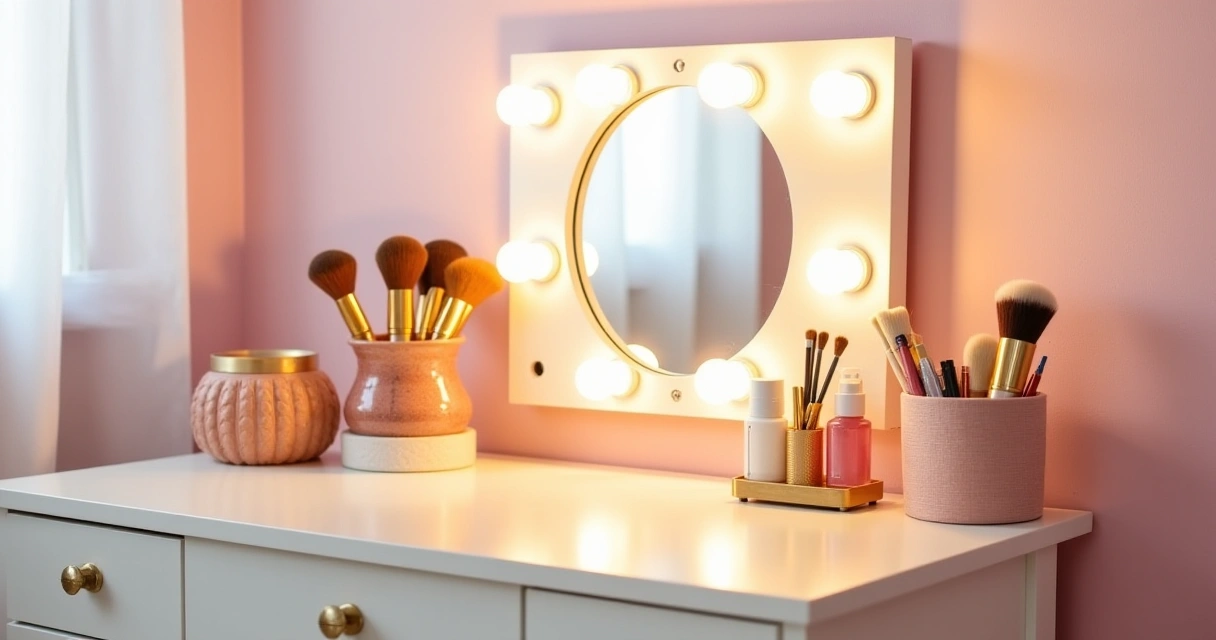
Step 2: Select a Lighted Mirror That Actually Illuminates Well
This is where most setups fail. A cute mirror that's too dim is useless at 6:30 a.m. when your teen is trying to apply makeup before school. You need actual light, not just "looks nice on Instagram." There are three main types: LED-rimmed mirrors, vanity mirrors with bulbs, and clip-on ring lights paired with a regular mirror. Each has trade-offs.
LED-rimmed mirrors (where the lights go around the perimeter) are popular and look polished, but the brightness varies wildly. Look for specs: you want at least 400-500 lumens and 4000K color temperature (cool daylight, not warm yellow). A 24-inch LED mirror with good specs costs $60-120 and gives you decent workspace. The problem I've seen repeatedly is that smaller mirrors (under 20 inches) don't actually light up enough of your face—you end up with shadows under your cheekbones or chin. Go bigger than you think you need.
Traditional vanity mirrors with separate bulb sockets are bulkier but often brighter and more adjustable. A 32-inch mirror with 3-4 bulb sockets and good-quality LED bulbs (I recommend 60-watt equivalent warm white or daylight) runs $100-180 but gives you the best light quality and the most flexibility to adjust brightness. These are also easier to upgrade later if one bulb burns out. If your teen shares a bathroom, this setup on the vanity desk means they can do their full makeup routine independently without waiting for the bathroom light.
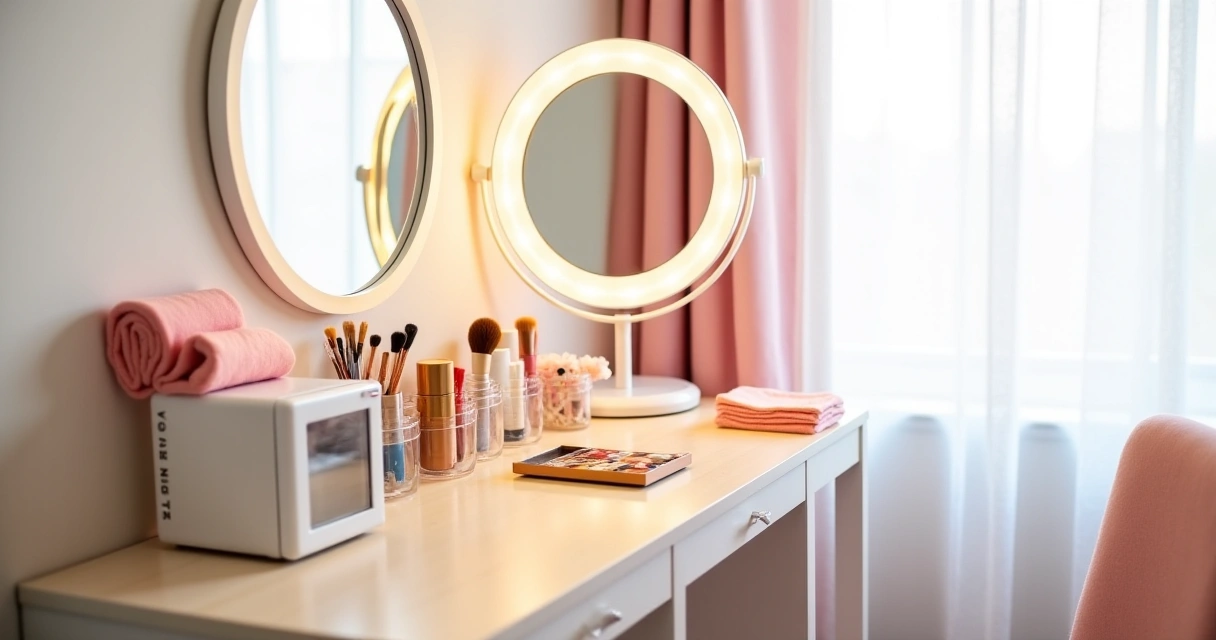
Step 3: Organize with Acrylic Organizers and Drawer Solutions
Here's what I've learned: a teen with 15 skincare products and 8 makeup items needs more storage than you'd think, especially if they also use hair products, sunscreen, and the occasional sheet mask. The key is layered organization—drawer dividers, small containers, and vertical storage. Before you buy acrylic organizers, inventory what your teen actually owns. Most setups need space for: face products (cleanser, moisturizer, sunscreen, serums), makeup (foundation, concealer, blush, eyeshadow, mascara, lips), brushes, and hair/nail items.
Acrylic drawer organizers are genuinely useful if you use them right. A set of stackable drawers (typically 3-4 tiers, 10-12 inches wide) runs $25-50 and holds a surprising amount if you're strategic. Don't fill them completely—teens need to see what they have. Overstuffed drawers breed duplication and forgotten products. One standard acrylic organizer fits on most vanity desks and handles the bulk of daily-use items. For additional items, a small shelf above the vanity or a second organizer to the side works, but more than two organizers on a small desk starts to feel cluttered and blocks the mirror view.
Makeup brushes and tools need their own home—a brush cup or small vase ($8-15) positioned to the side of the mirror or back corner. Don't skip this. Loose brushes rolling around in drawers damage the bristles and waste space. Skincare bottles and jars are irregular shapes, so rectangular containers work better than round ones. Look for clear acrylic containers so your teen can actually see what's inside without opening drawers constantly. Label everything with a small label maker ($15-20) or masking tape. It sounds fussy, but when you can see "AM moisturizer," "PM moisturizer," and "body sunscreen" at a glance, the system actually works and gets used.
Step 4: Add a Beauty Mini Fridge for Skincare and More
A mini fridge might sound like a luxury, but if your teen is into skincare—serums, sheet masks, moisturizers, sunscreen—it's actually functional. Cool products feel better on skin, and keeping certain actives (like retinol or vitamin C) in a cool place extends their shelf life. A compact beauty mini fridge (4-6 liters, about the size of a small toaster) costs $30-60 and fits on a shelf, a corner of the desk, or even on the floor under the vanity. The real question is whether your teen will actually use it or if it becomes expensive decoration.
If your teen does regular skincare routines (not just slapping on moisturizer), a mini fridge makes sense. If she's 14 and mostly doing makeup, it's probably overkill. Consider your electricity situation too—mini fridges use surprisingly little power (about as much as a desk lamp), but if outlets near the vanity are limited, adding another appliance might not be practical. Ours sits on the shelf next to the organizers and honestly gets used maybe three times a week, which is fine. It's not essential, but it's a nice addition if budget allows and space permits.
Stocking it matters. Keep sheet masks, cooling hydrogels, and select serums inside. A backup sunscreen is useful too since sunscreen is temperature-sensitive. Don't overstuff it—the fridge needs air circulation to work properly. Most importantly, have your teen clean it out monthly (yes, actually clean it) to prevent mold or weird smells. A good rule: if it's been in there more than 6 months, it's expired and should go.
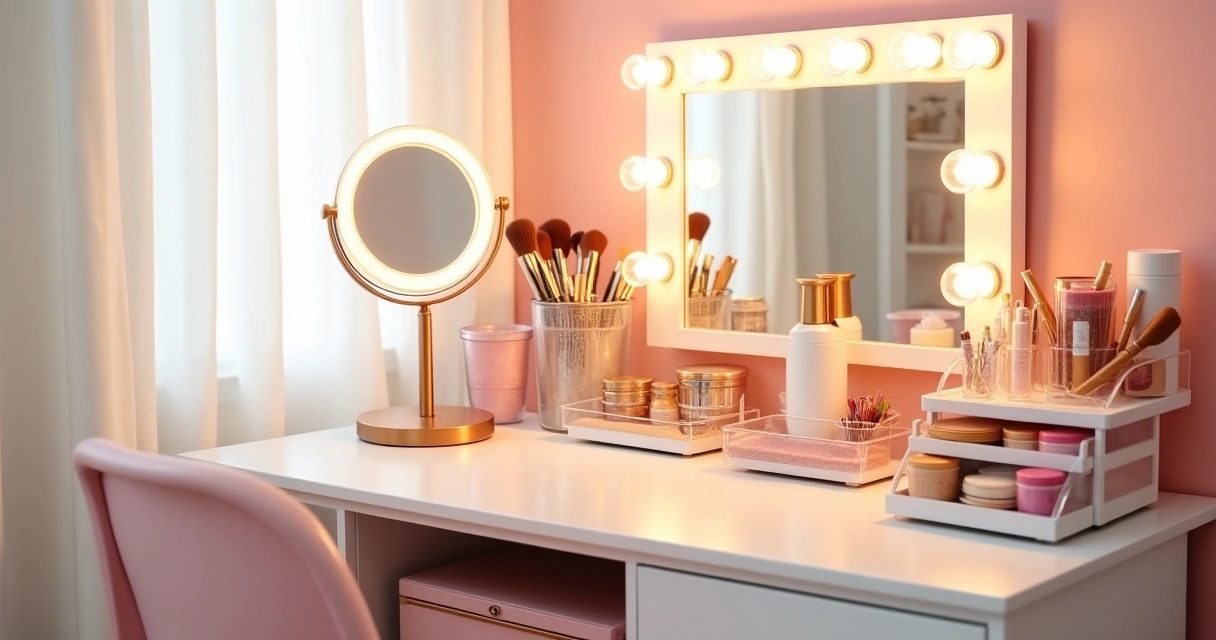
Step 5: Create a Functional Layout That Works for Morning Routines
The best vanity setup is one that flows with how your teen actually uses it. Most mornings are rushed— 15-20 minutes before school. The layout needs to support speed and efficiency. Place daily-use items (face moisturizer, deodorant, sunscreen) in the most accessible spot: front center of the organizer or on the desk surface. Less frequent items (special serums, weekend masks, extra products) go in the back or secondary drawers. Makeup that gets used every day (foundation, concealer, mascara, lip balm) should be in the top drawer or front container—no digging required.
Lighting and mirror placement is critical. The mirror should be at eye level when sitting, or slightly higher if your teen stands. If it's too low, she'll lean forward and strain her neck. If it's too high, she'll have to stand on her tiptoes or strain looking up. Most teens sit, so aim for the mirror center about 4-6 inches above eye level when seated—this accounts for the natural angle down. The desk height should be about 28-32 inches (standard desk height), which allows comfortable armwork without hunching.
Consider the routine start to finish: skincare first (cleanse, moisturize, sunscreen), then makeup (base, eyes, cheeks, lips), then finishing touches. Your layout should support this flow—skincare products in one section, makeup in another, organized by use-order when possible. Brushes within arm's reach but not taking up prime real estate. A small trash can or recycling spot nearby is surprisingly helpful (for sheet mask packaging, mascara
Frequently Asked Questions
How do I choose the best lighted mirror for a teen vanity?
Look for mirrors with adjustable LED lighting that offers multiple brightness settings and color temperatures (warm to cool light) to mimic different environments like natural daylight. Consider the mirror size relative to your vanity desk—typically 20-30 inches wide works well—and ensure it has a sturdy base or wall-mounting option that won't tip over during daily use.
What is the best way to organize makeup on a teen vanity?
Use tiered acrylic organizers and drawer dividers to maximize vertical space and keep items visible and accessible. Group products by category (foundations, brushes, palettes) and use clear containers so your teen can easily see what they have without digging through drawers.
How much space do I need for a functional teen vanity setup?
A functional teen vanity typically requires 24-36 inches of desk width to accommodate a lighted mirror, organizers, and daily essentials comfortably. Measure your available space first and consider the wall area above the desk for mirror placement and adequate clearance for seating and movement.
Is a mini fridge worth it for a teen vanity setup?
Yes, a beauty mini fridge is worth the investment if your teen uses skincare products that benefit from cool storage, like sheet masks, eye creams, or certain serums that last longer when refrigerated. It's also a trendy organizational element that keeps products organized and easily accessible in one dedicated beauty space.
What drawer organizers work best for small makeup and beauty products?
Acrylic drawer dividers with adjustable compartments are ideal because they keep small items like lipsticks, brushes, and eyeshadow palettes separated and visible. Stackable organizers maximize vertical space, and clear materials allow you to see inventory at a glance without opening every drawer.
How do I set up a vanity desk in a small bedroom?
Choose a compact vanity desk (48 inches or smaller) and utilize wall space by mounting your lighted mirror directly on the wall rather than using a stand. Add vertical storage with wall-mounted organizers or shelves above the desk to keep the footprint minimal while maintaining functionality.
What lighting color temperature is best for a makeup vanity mirror?
Natural daylight (5000-6500K) or a mix of warm and cool light options is best because it accurately represents how makeup will look in different settings throughout the day. Look for mirrors with adjustable color temperature so your teen can switch between warm light for evening looks and bright daylight for daytime application.